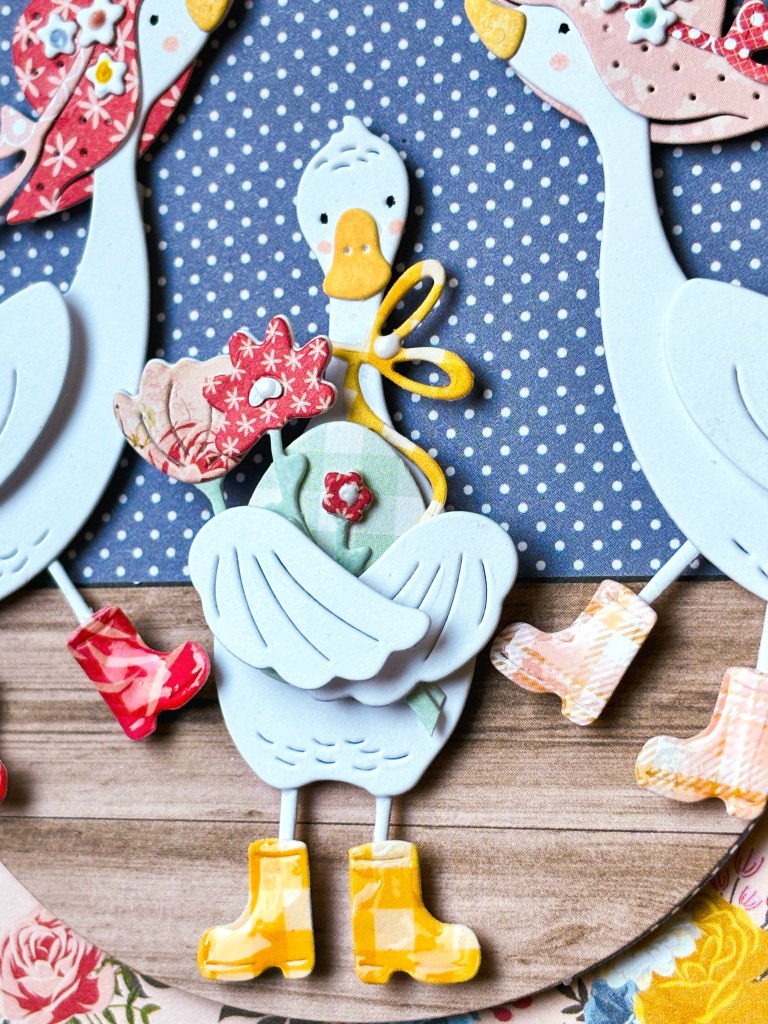
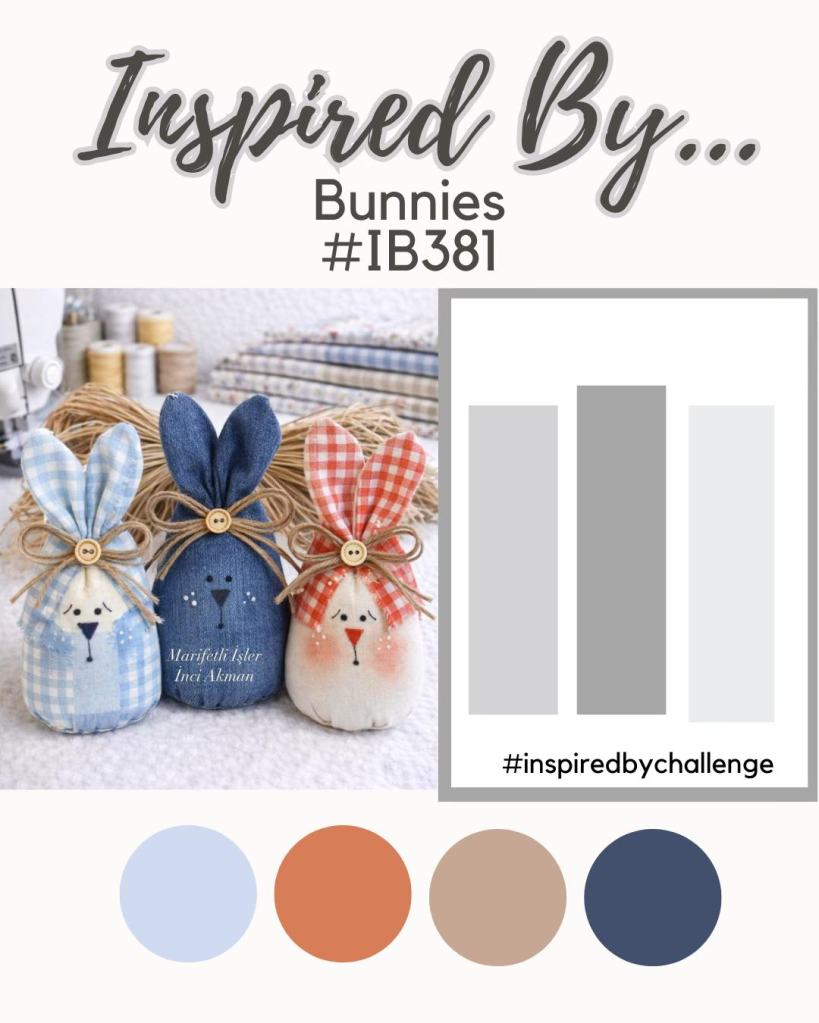
Hello everyone. Von Marie here and I’m so happy to be on the blog today. How about this weeks challenge so fun right?? Gum Boots, fun colors, and a great card sketch.
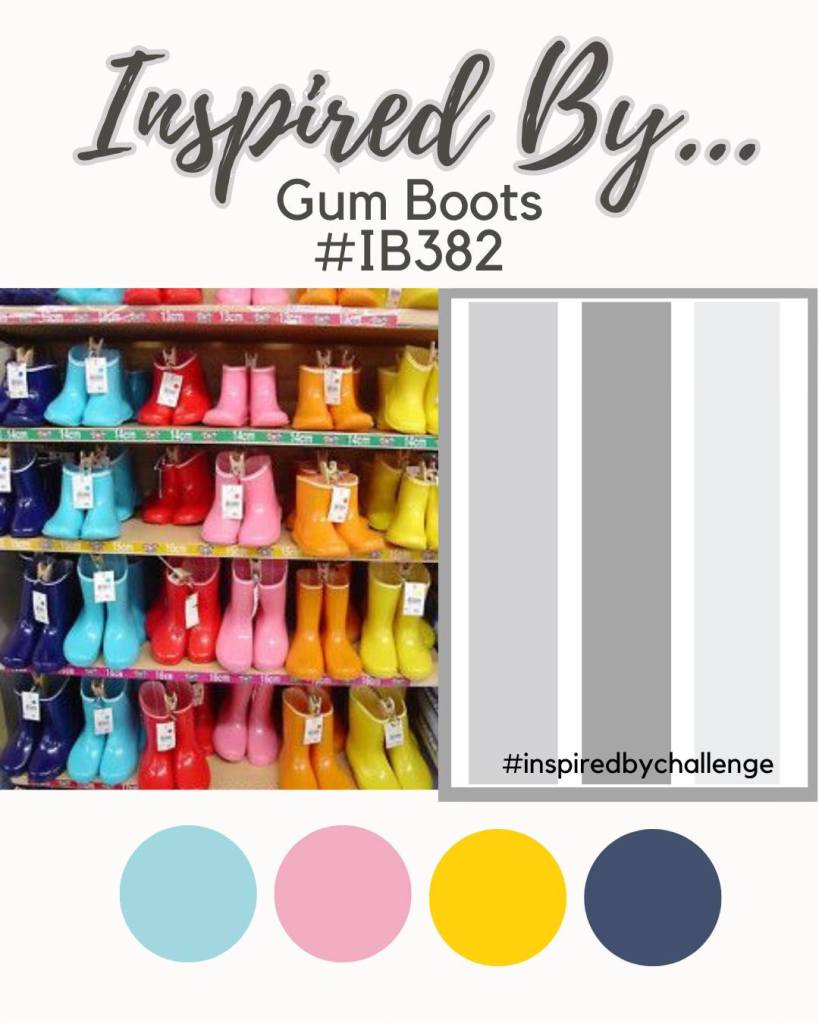
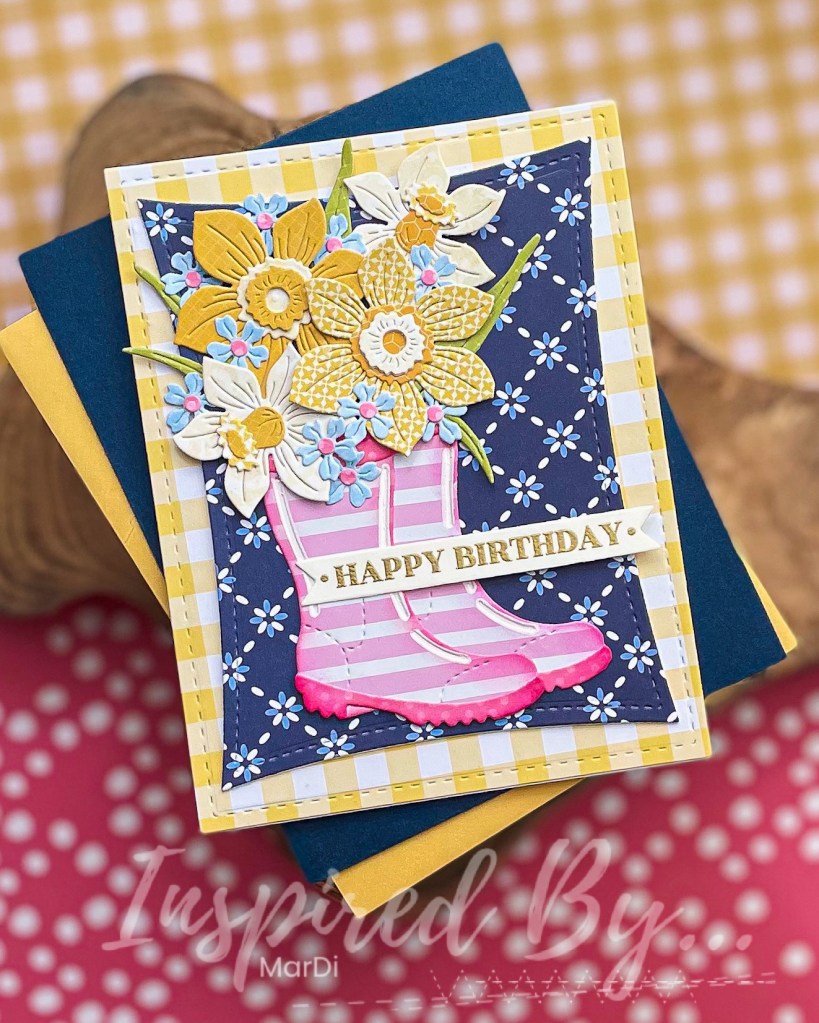
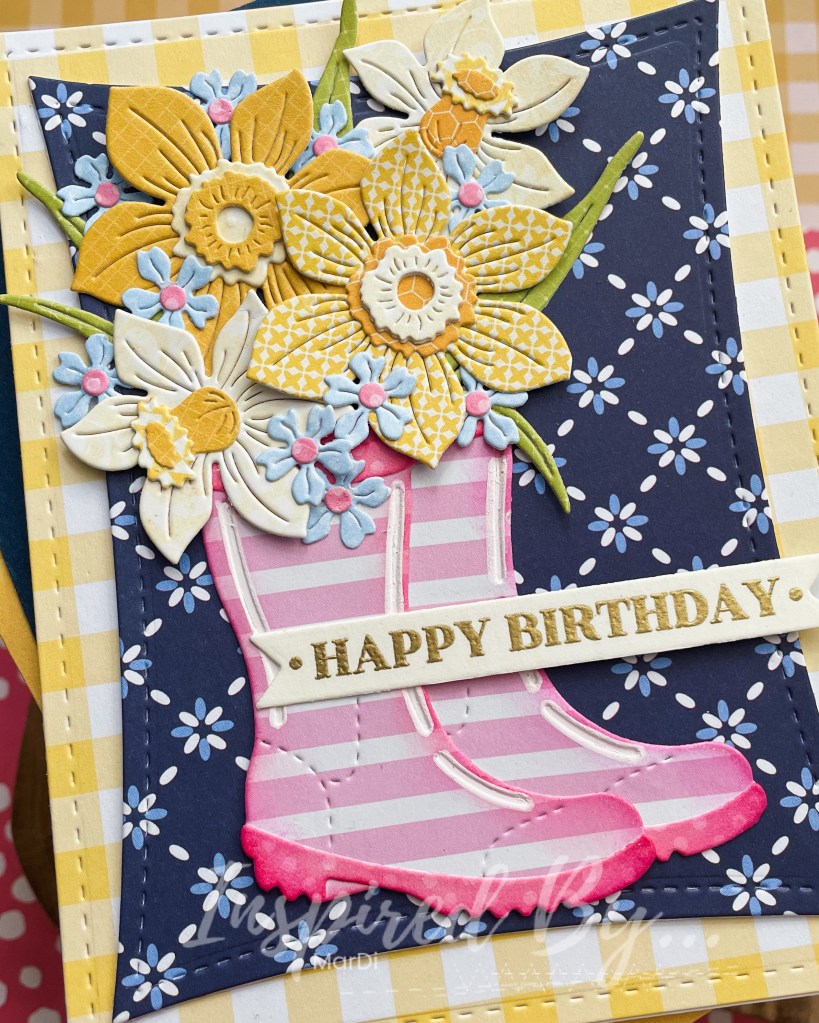
Here is how I was inspired? I want rain boots in every color shown so those boots, colors, and card sketch inspired me.
Let’s Get Started:
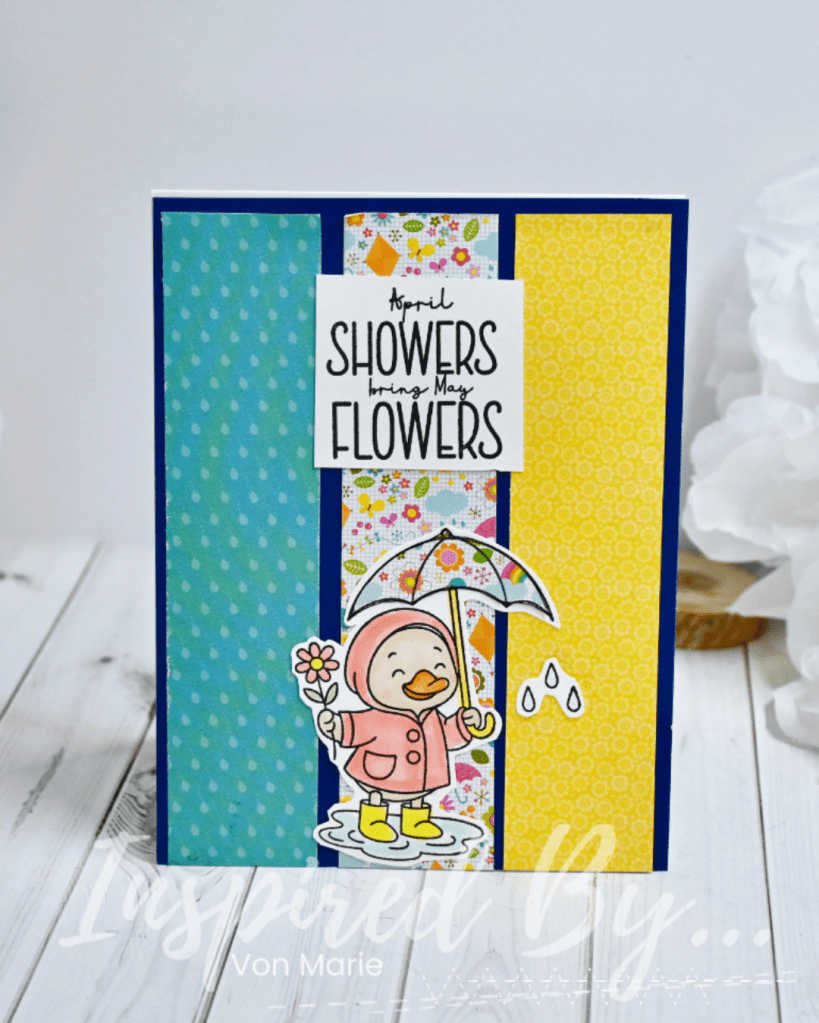
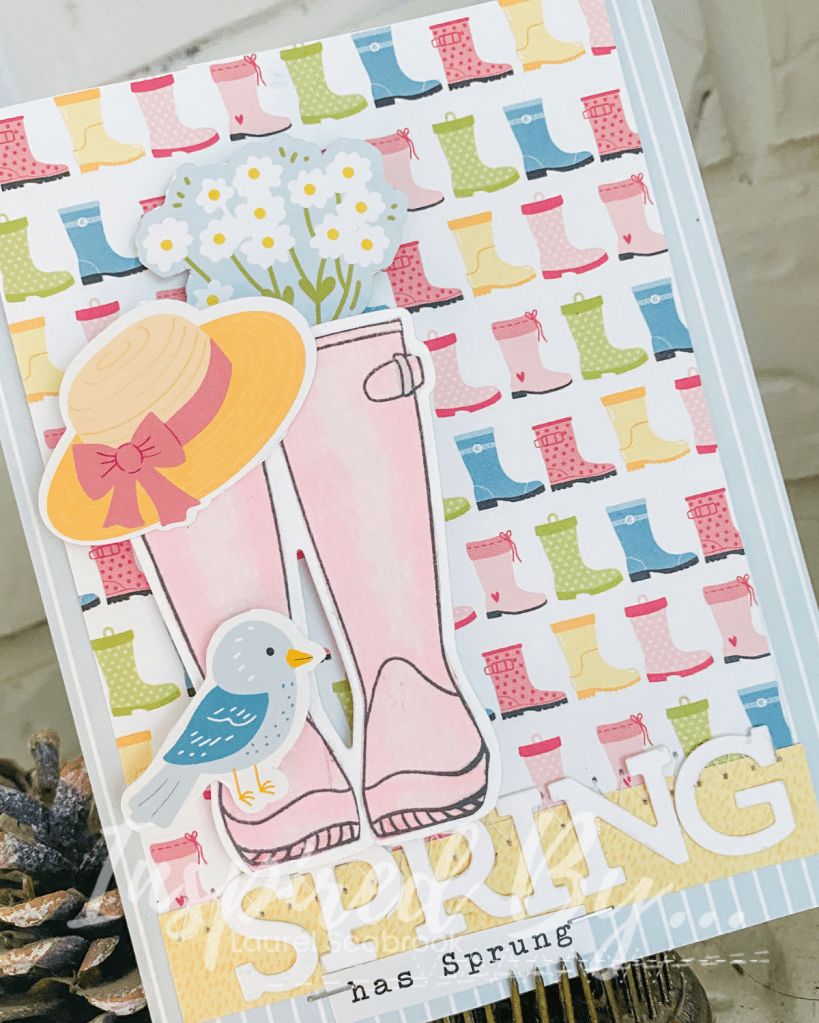
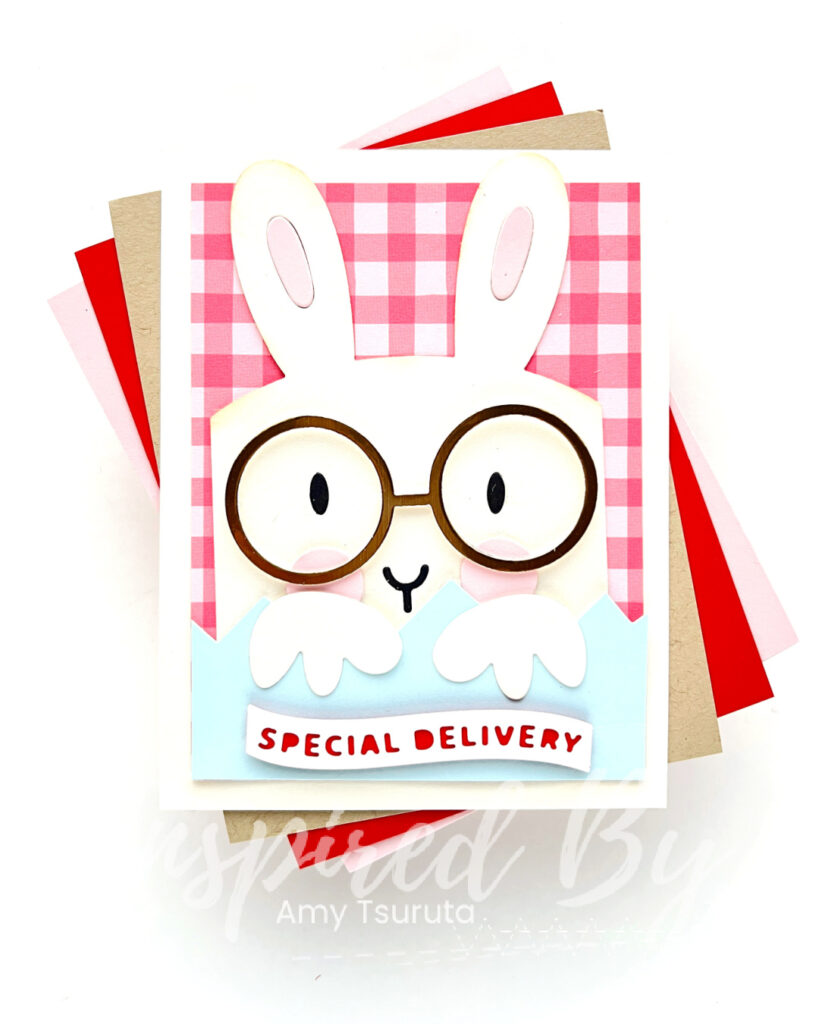
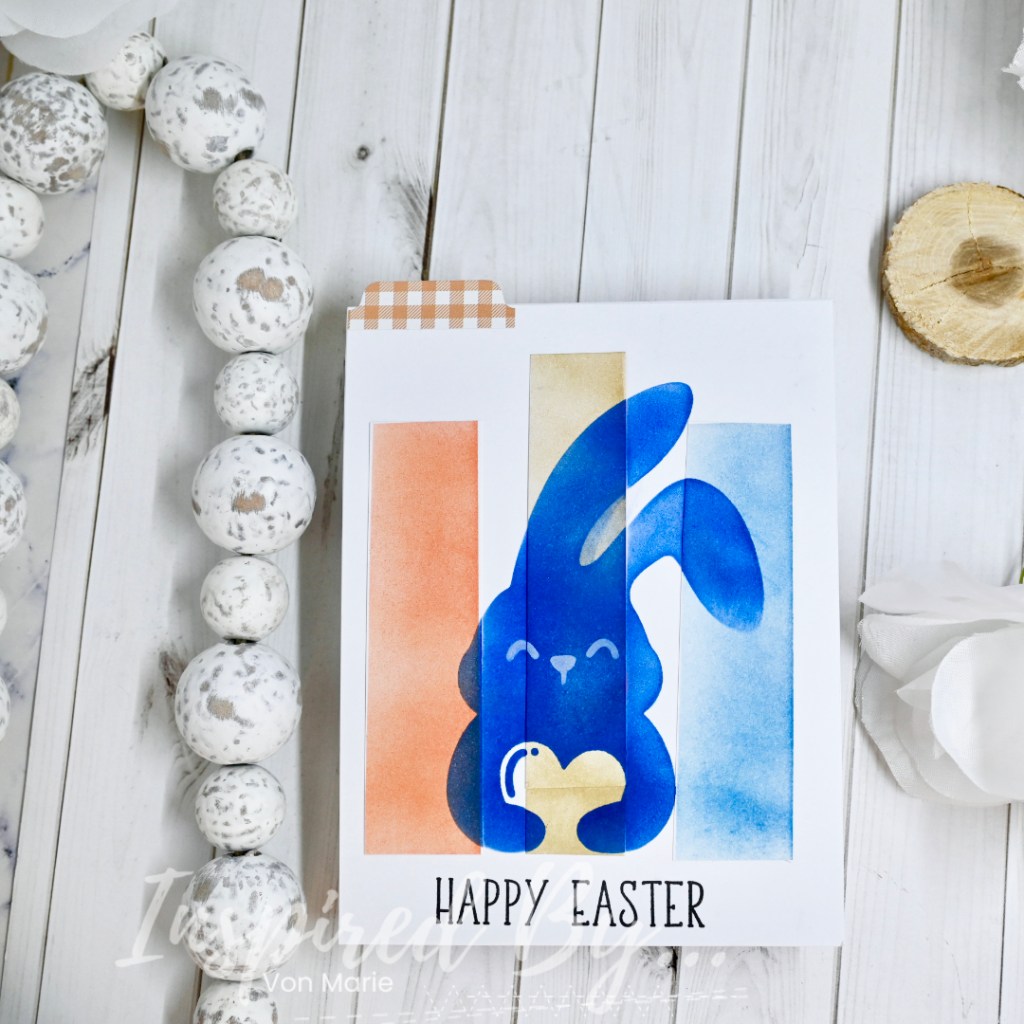
I grabbed some pattern papers from an older Doodlebug Design inc. Springtime 6×6 Paper pad. I then cut my 3 strips of pattern paper a little over 1 inch. Using my paper trimmer and glued them to a Navy blue textured cardstock panel 4 1/4 x 5 1/2.
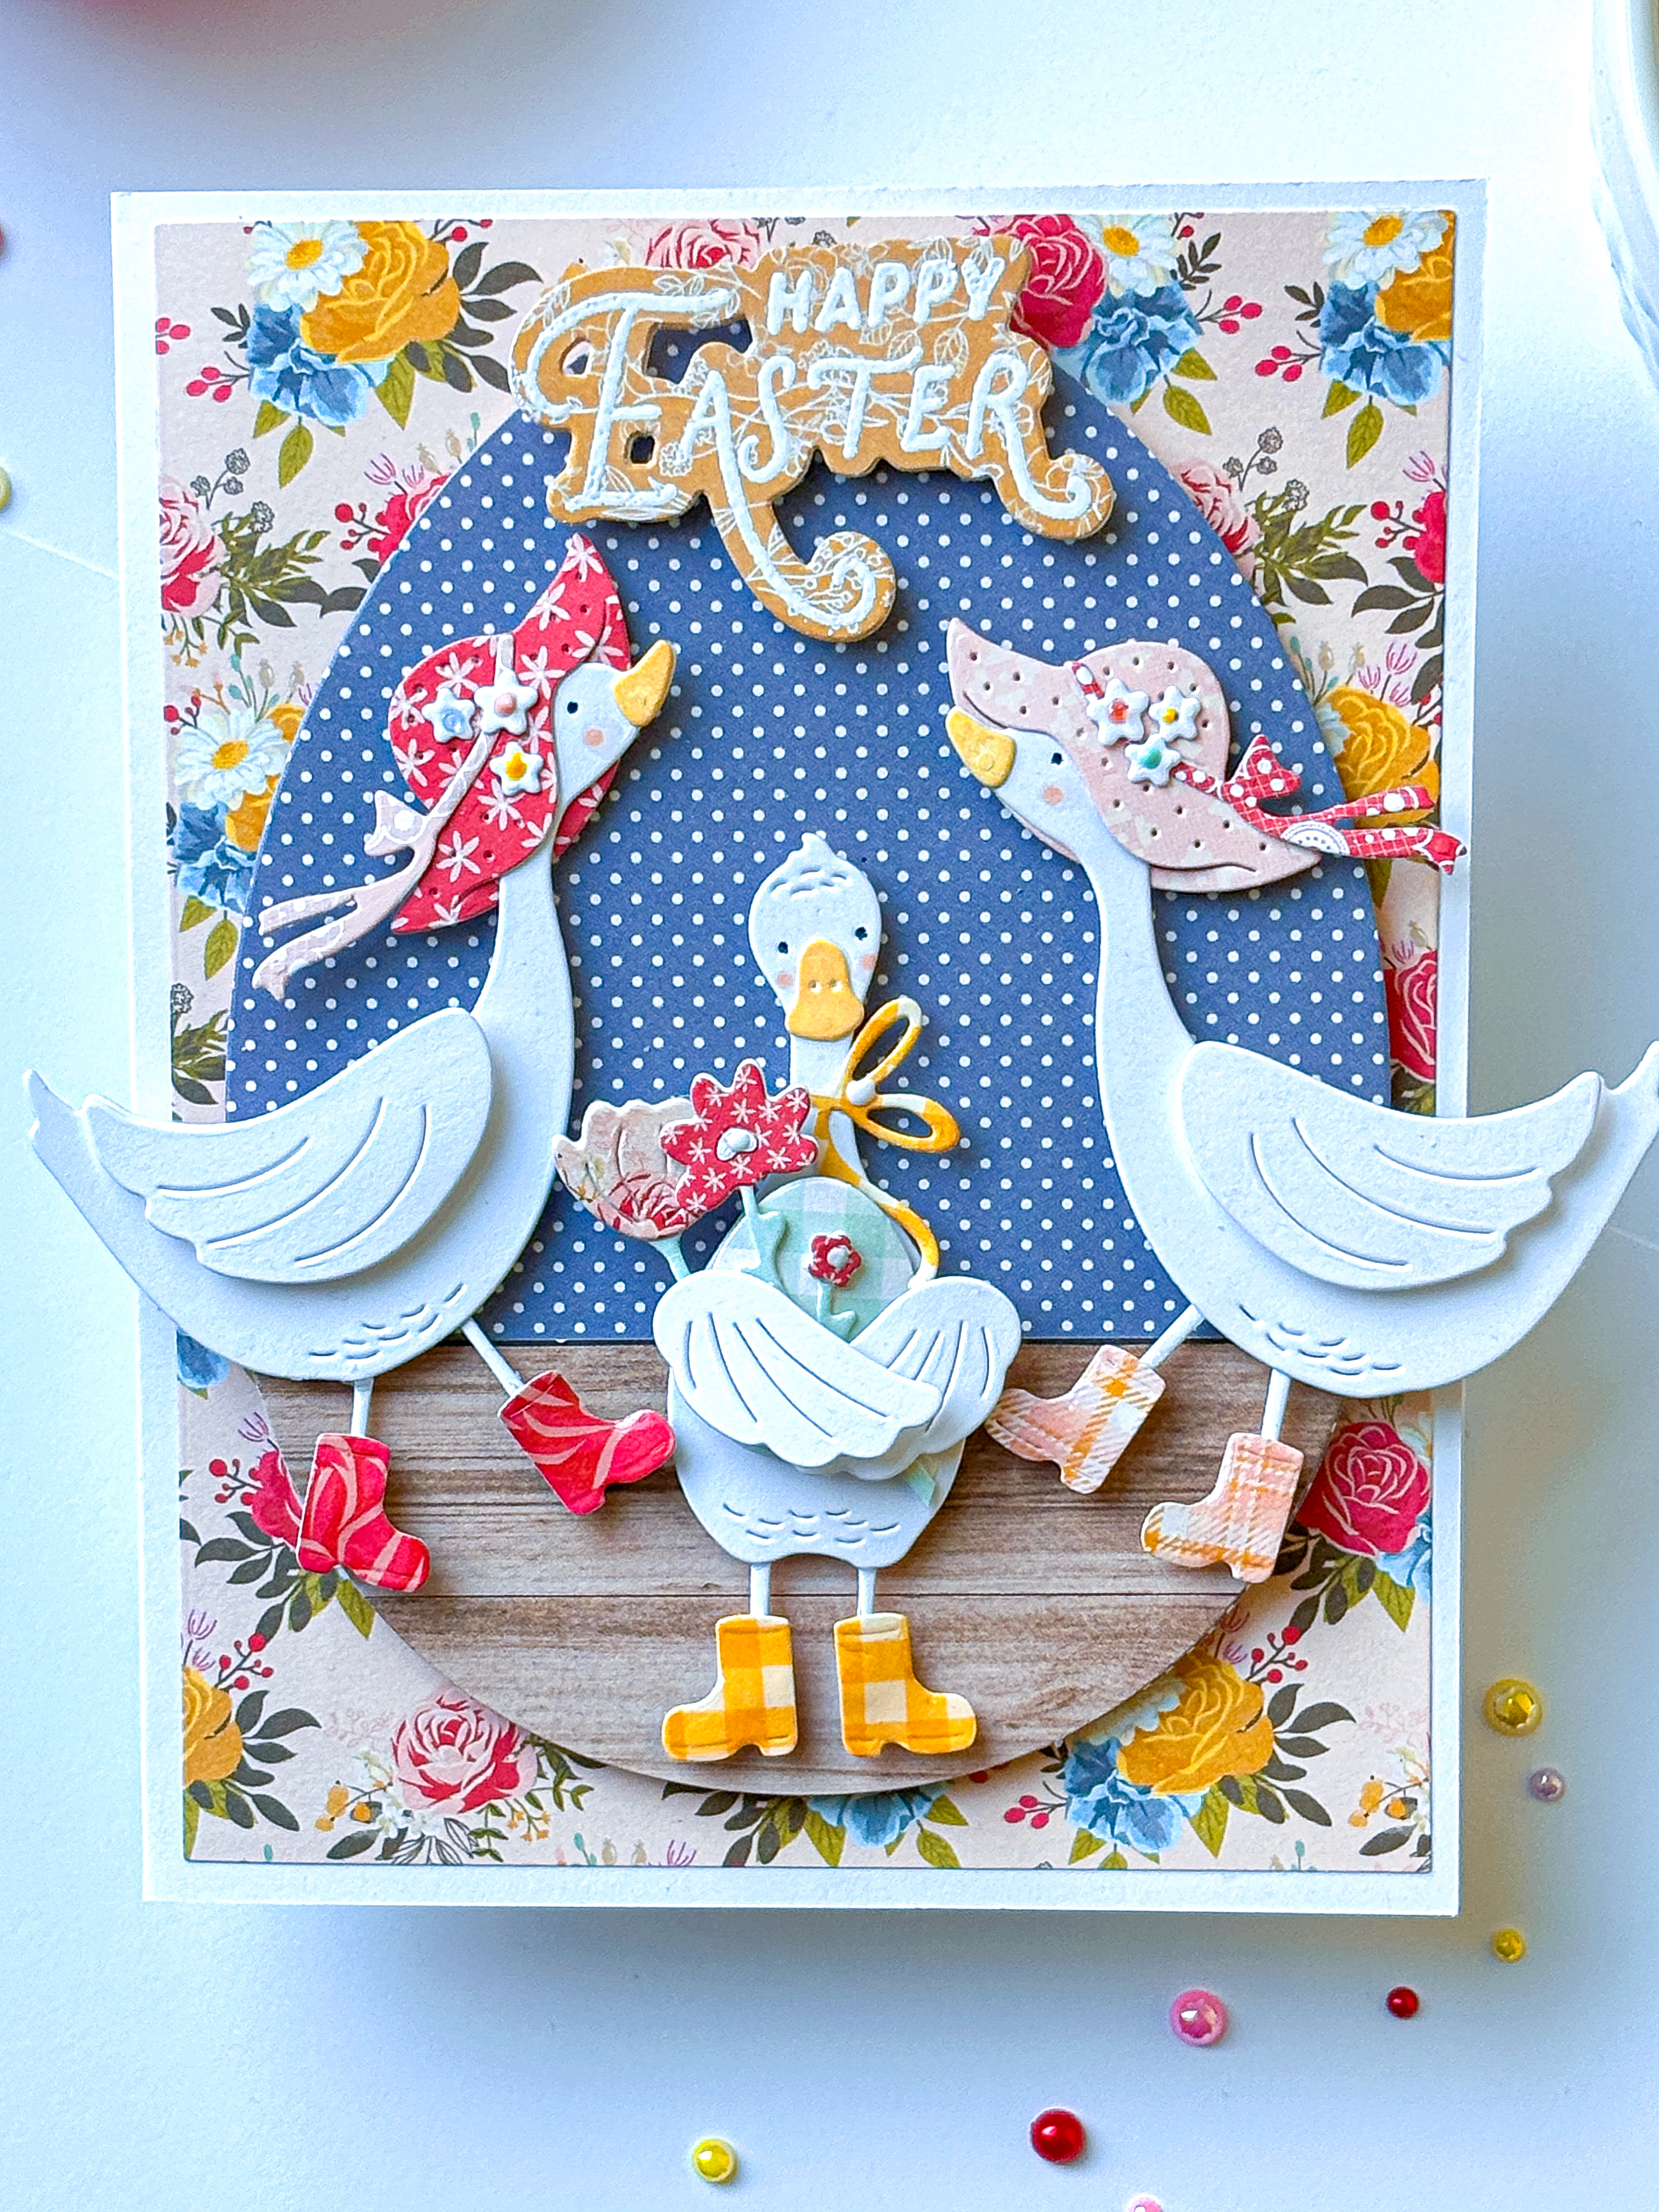
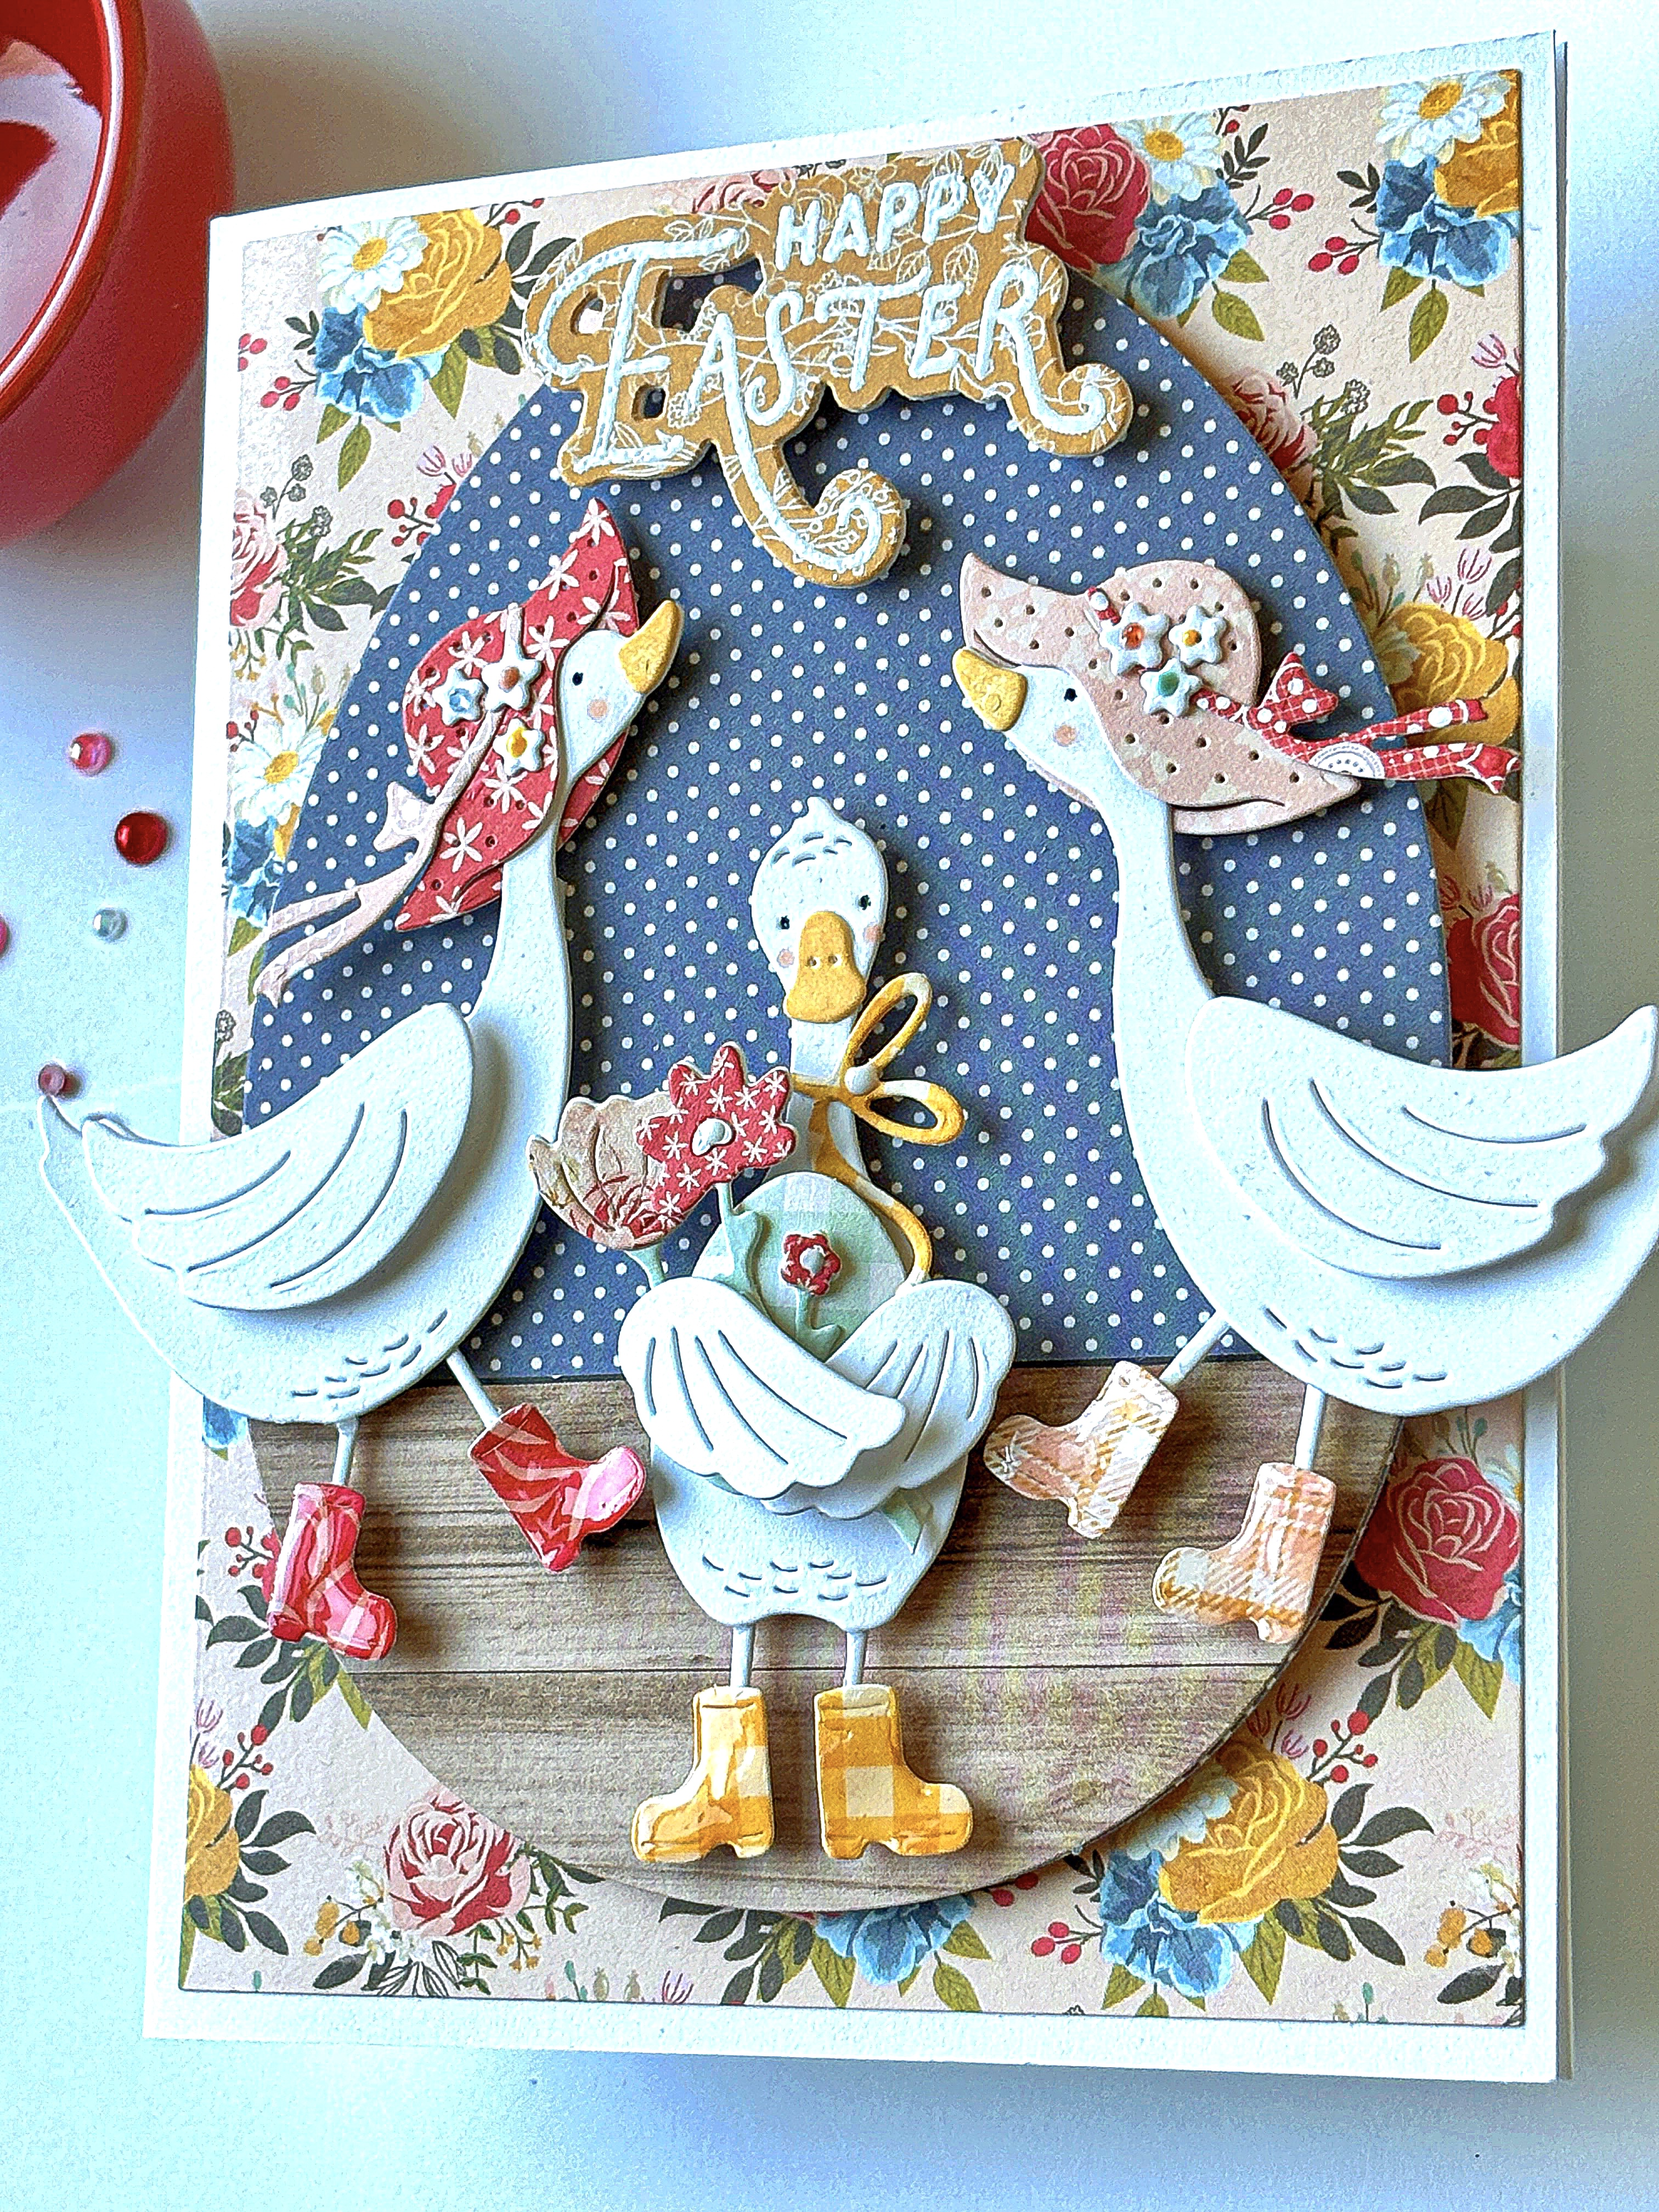
Next I stamped this cute duck in Memento Tuxedo Black ink on white cardstock. I love it from the Not 2 Shabby Shop called Rainy Day Cheer that was from a Subscription Box Of The Month or Jr Box Of The Month. I colored it in trying to match the inspiration photo using Copic Markers. I paper pieced the umbrella from one of the same pattern papers and used a black marker to clean up my edges. I kept my duck light colored for a neutral look. I fussy cut the duck and water droplets leaving a white border. Isn’t this duck having so much fun? Makes me smile. I stamped a sentiment from the same stamp set and cut it to fit. All was glued to a top folding A2 card base. I love this card and challenge.
You still have time to join us!
How to join this challenge? Create a card inspired by the photo or Card Sketch or both. Link your card to the Inspired By..Blog. Every Thursday starts a New challenge so you have less than a week to link up your card. Show us your card in our FB group. We would love to see.
Crafty Hugs
Von Marie